|
How to fold a Tetrahedron The easy way to fold the tetrahedron starts with downloading and printing the coloured square at the end of this page, scaling it if you like, and cutting it out. Have a look whether the paper is exact square, your printer might change the ratio of the sides. In the more sophisticated version you have to find two geometric points by your own - the instructions will guide you. Cut out an exact square sheet of paper about 10 x 10 cm, don't use too heavy paper. If you have a pictured or coloured paper, this side is turned up so you can see it. The illustrations use white areas for the coloured or pictured side, grey areas for the backside. Dotted lines mean folds in this step, continuous lines are folds of former steps. Compare your work with the illustration of the currently following step to avoid mistakes. Always orientate your work as shown on the pictures. Fold means to fold a valley out of your current sight, folding to the backside produces mountain folds. |
 |
1. Fold aligned vertical, unfold |
 |
2. Fold aligned horizontal, unfold |
 |
3. Place the lower left corner on the right half of the horizontal fold, so that the fold goes exact through the upper left corner, if you have markings on your paper this is quite easier, unfold |
 |
4. Same procedure with the lower right corner to left half of the horizontal line |
 |
5. Same procedure with the upper left corner to right half of the horizontal line |
 |
6. Same procedure with the upper right corner to right half of the horizontal line |
 |
7. Turn the paper, so that you can see the backside, fold through the point of intersection of the oblique lines on the upper part of the paper, parallel to the edge, unfold |
 |
8. Same on bottom part of the paper, do not unfold |
 |
9. Fold aligned vertical, turn the left part in the middle line over the right part |
 |
10. Do a helpingfold now: as shown on the illustration lay the upper marked point on the lower point and fix the resulting fold, unfold and turn the part over this fold on the backside of the paper, use the same fold to do this, unfold |
 |
11. Spread the two layers of paper now and bring the marked point through the layers down, use the fold from the last step |
 |
12. The triangle over the dotted line is turned down, the front layer to the front, the back layer to the back |
 |
13. The small triangle on the right side of the dotted line is turned left, the front layer to the front, the back layer to the back |
 |
14. Helpingfold: the part right to the dottet line is turned left, fold both layers, unfold, fold again in the same fold to the back, unfold |
 |
15. Pull the part right of the dottet line, by spreading the two layers, over the left part, front layer to the front, back layer to the back, fold in the dotted line |
 |
16. The small triangle right to the dottet line is turned left, unfold, turn this triangle between the two layers, pleat the whole paper |
 |
17. Slightly press the figure at the marked points so that both layers spread and stuff the trapezoid on the bottom between the layers, try to do carefully, pleat the paper again |
 |
18. Hold the figure at the marked points and blow short but not too rapid between the layers, the figure should fold open |
 |
Download a coloured paper |
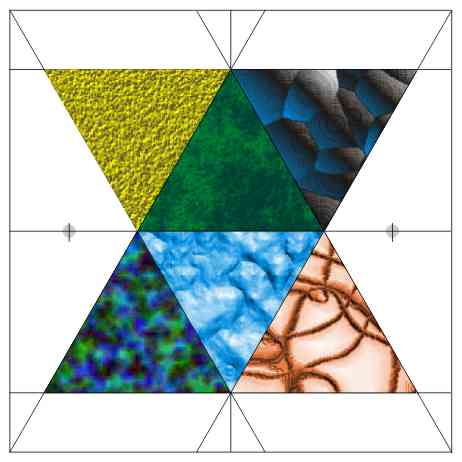